


 24/7 Emergency Service
Drywall repair is an art!
1/10/2019 (Permalink)
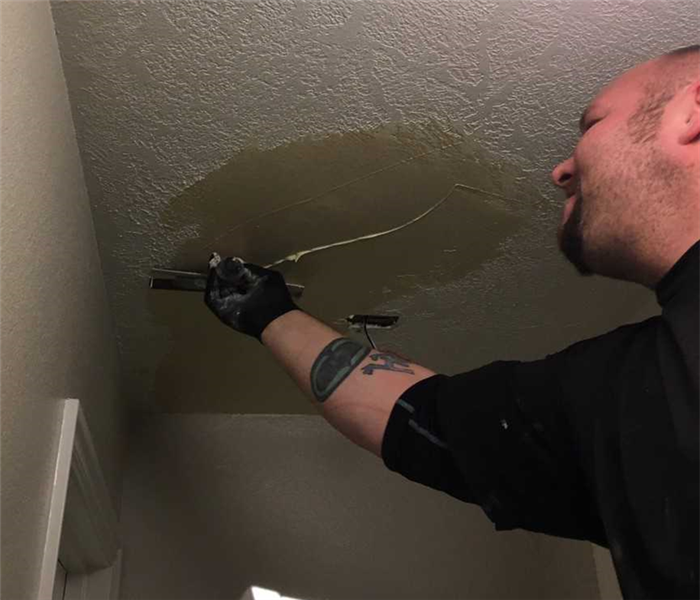
After a toilet leaked from the second story and our crew cleaned up that mess, its on to the reconstruction phase. Our employee Matt is very careful in his efforts to make this ceiling look like new again. Drywall is a skilled trade and requires a lot of steps and detailed work.
The last part of the process is to make it look "Like it never even happened." www.HGTV.com has given these steps below.
- Spread a drop cloth around the area.
2. Use a putty knife to scrape damaged paint from the ceiling. Hold the putty knife at a 30-degree angle for the best results. Remove all the paint from the ceiling to avoid mismatched textures.
3. Use the utility knife to remove any damaged sections of drywall. For small areas, remove as little drywall as possible. For larger damaged areas, cut out the entire damaged area and replace it with a patch using standard drywall repair techniques.
4. With a small putty knife, spread a thin layer of joint compound along each seam.
5. After smoothing the compound, cut a piece of drywall tape to length and apply it to the wet compound. Drywall tape has no adhesive and must be applied while the joint compound is still wet.
6. With a clean putty knife, smooth the tape to remove air bubbles.
7. Apply a layer of joint compound on top of the tape. Allow the compound to dry, and sand it smooth. Use a wider drywall knife to apply a second layer, and sand the compound smooth after it dries. For smooth drywall joints, keep the blade as steady as possible and maintain consistent pressure.